Mapping

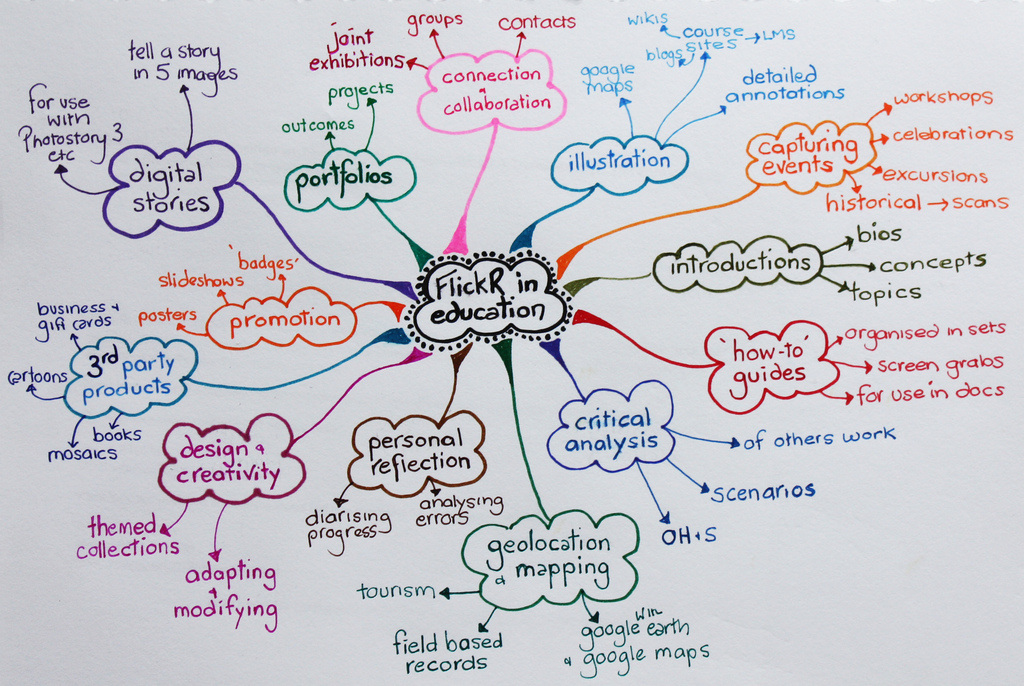
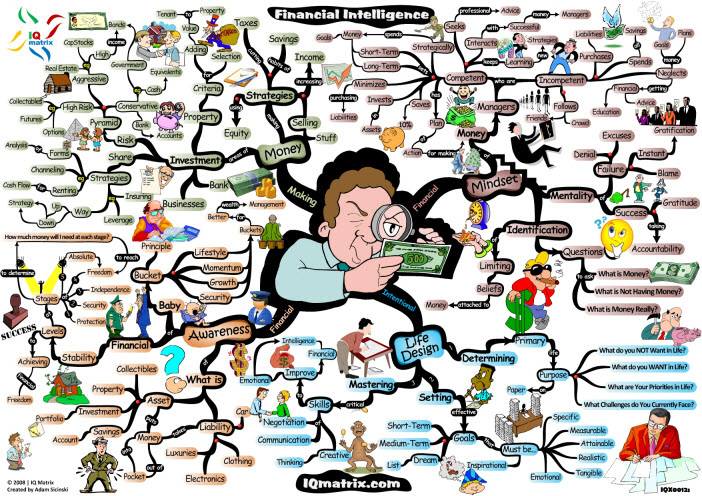
Mapping is a useful writing-to-learn activity because it helps students to take what they have learned and/or read and arrange these ideas to make connections and show relationships. This activity can make use of some of the simpler maps, graphic organizers such as Venn diagrams, flowcharts, and T-charts. If you want to make use of a more colorful and complex creation, try mind mapping. This kind of maps allows students to arrange their thinking in various and coinciding relationships to foster deep thinking and understanding. A mind map is a tool that students can use to organize and synthesize what they have learned and read in a way that makes sense to them.
If your students are unfamiliar or uncomfortable with mapping, it may help to begin with a simple graphic organizer. Model for the class, and then have them work in small groups for practice. When students are comfortable with using simple graphic organizers, move on to mind maps. Again, model, work together, and even show some student examples. This will help students know what is expected and how to make the best use of this tool. These mind maps are flexible. Some may be chaotic, while some may be neater. Students may use colors, shapes, diagrams, or connecting lines. The important thing is that the maps show relationships and connections. I have provided a couple of examples here, but if you want to see more, a quick image search on the Internet will provide plenty of examples.
A few key tips for successful mind mapping:
· Model! Students need to know the value of this activity as a tool in order to make the most out of it.
· Before students get started, consider facilitating a discussion of the “big ideas” in the particular unit of information about which they will be mapping.
· Try mind mapping at the end of a unit, so that students can see how the ideas of the unit are connected.
· Try using the maps as a tool for class or small group discussion.
· Maps are a tool, not a task! Don’t “fill out” a graphic organizer; use it as a tool to organize, construct, synthesize, compare, etc.
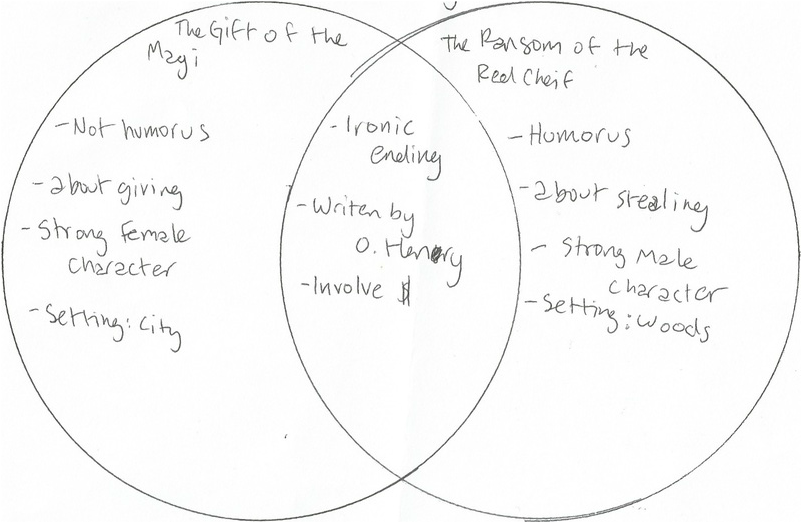
Student work: Simple graphic organizer